
Happy holidays from Veritas Marketing.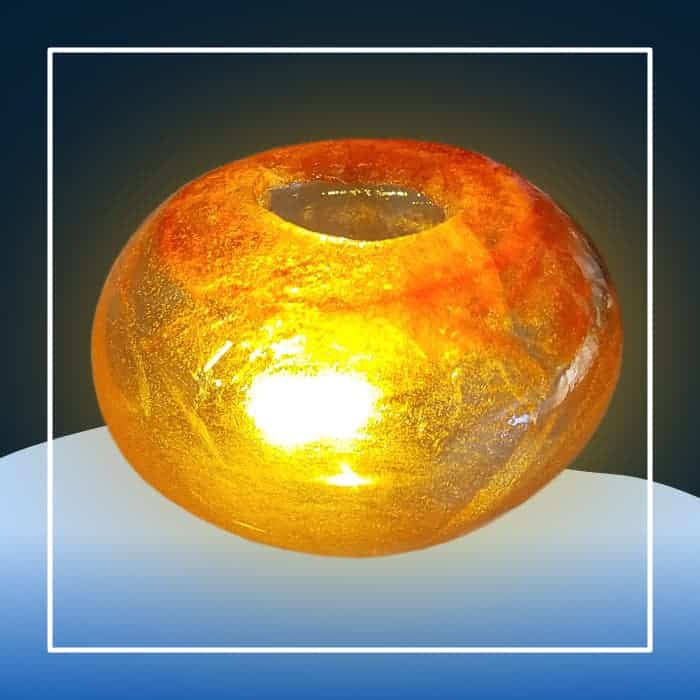
As the winter solstice draws near and the days become shorter, light can bring a sense of togetherness and joy. To make your nights a little brighter, we’ve prepared instructions on how to create outdoor ice luminarias.
In just five steps, these crystal-like decorations can be used to add festive lights to your outdoor winter wonderland. In warmer climates, they can be used as a temporary decoration as well.

Containers: Use two plastic bowls of different sizes such as buckets, cups, or cleaned single-use products like yogurt cups or take-out containers. One should fit inside the other with a half-inch of space. Make sure the smaller container is wide enough to fit a tea light candle or LED light.
Balloon: Alternatively, use a balloon combined with a large dish to hold its shape.

Containers: Place the smaller container inside the larger one and fill the space between them with water. Add weight, like small rocks or other heavy objects to the smaller container to help keep the water pressure consistent while freezing.
Balloon: Fill the balloon below its maximum capacity to prevent popping during the freezing process. Tie off the balloon when filled.

Containers: Place the containers in the freezer or outside if colder than 0° until solid — typically at least 8 hours depending on the size of containers.
Balloon: Place balloon in a container* in the freezer or outside if colder than 0°. Keep cold until the exterior of the balloon is solid while the interior of the balloon is still water — typically at least 8 hours depending on the size of containers.
*If you are using a freezer, make sure the container could hold all of the water in case the balloon pops to avoid a frozen mess in your freezer.

Container: To remove the ice from the containers, set them in a dish or sink of room temperature water. After a few minutes, the containers will come apart revealing the ice luminaria.
Balloon: Remove the balloon from the ice. Gently poke a hole to access the water that’s still unfrozen in the center. Be careful if using a sharp object to pick at the ice. Alternatively, use a water-safe heat source to melt a portion of the ice. Make sure the hole is large enough for a candle.

Place the luminaria with the hole facing up and put a tea light inside. We recommend using a water-safe LED tealight to illuminate the ice. Place near a pathway, doorstep or other outdoor location. Alternatively, place indoors on a tray that’s ready to absorb water for a unique dinner table decoration.
Variations: You can add food coloring to the water to change your ice color. This can cause discoloring on some surfaces like concrete or wood. Additionally, you can add small objects like juniper leaves and berries, pine needles or other natural decorations to the water before freezing.
Note: Please use extreme caution when using any sharp or flame tools.